Are you looking for a sustainable way to conserve water and lower your utility bills? A DIY rain barrel is an excellent solution for rainwater harvesting, allowing you to collect and store water for use in your garden, lawn, or even household chores. Not only is this project eco-friendly, but it’s also budget-friendly and simple to complete with the right materials. In this guide, we’ll break down all the essential parts you need to build a fully functional rain barrel system. Whether you’re a home improvement enthusiast or a beginner looking for a rewarding project, this step-by-step parts list will help you get started.
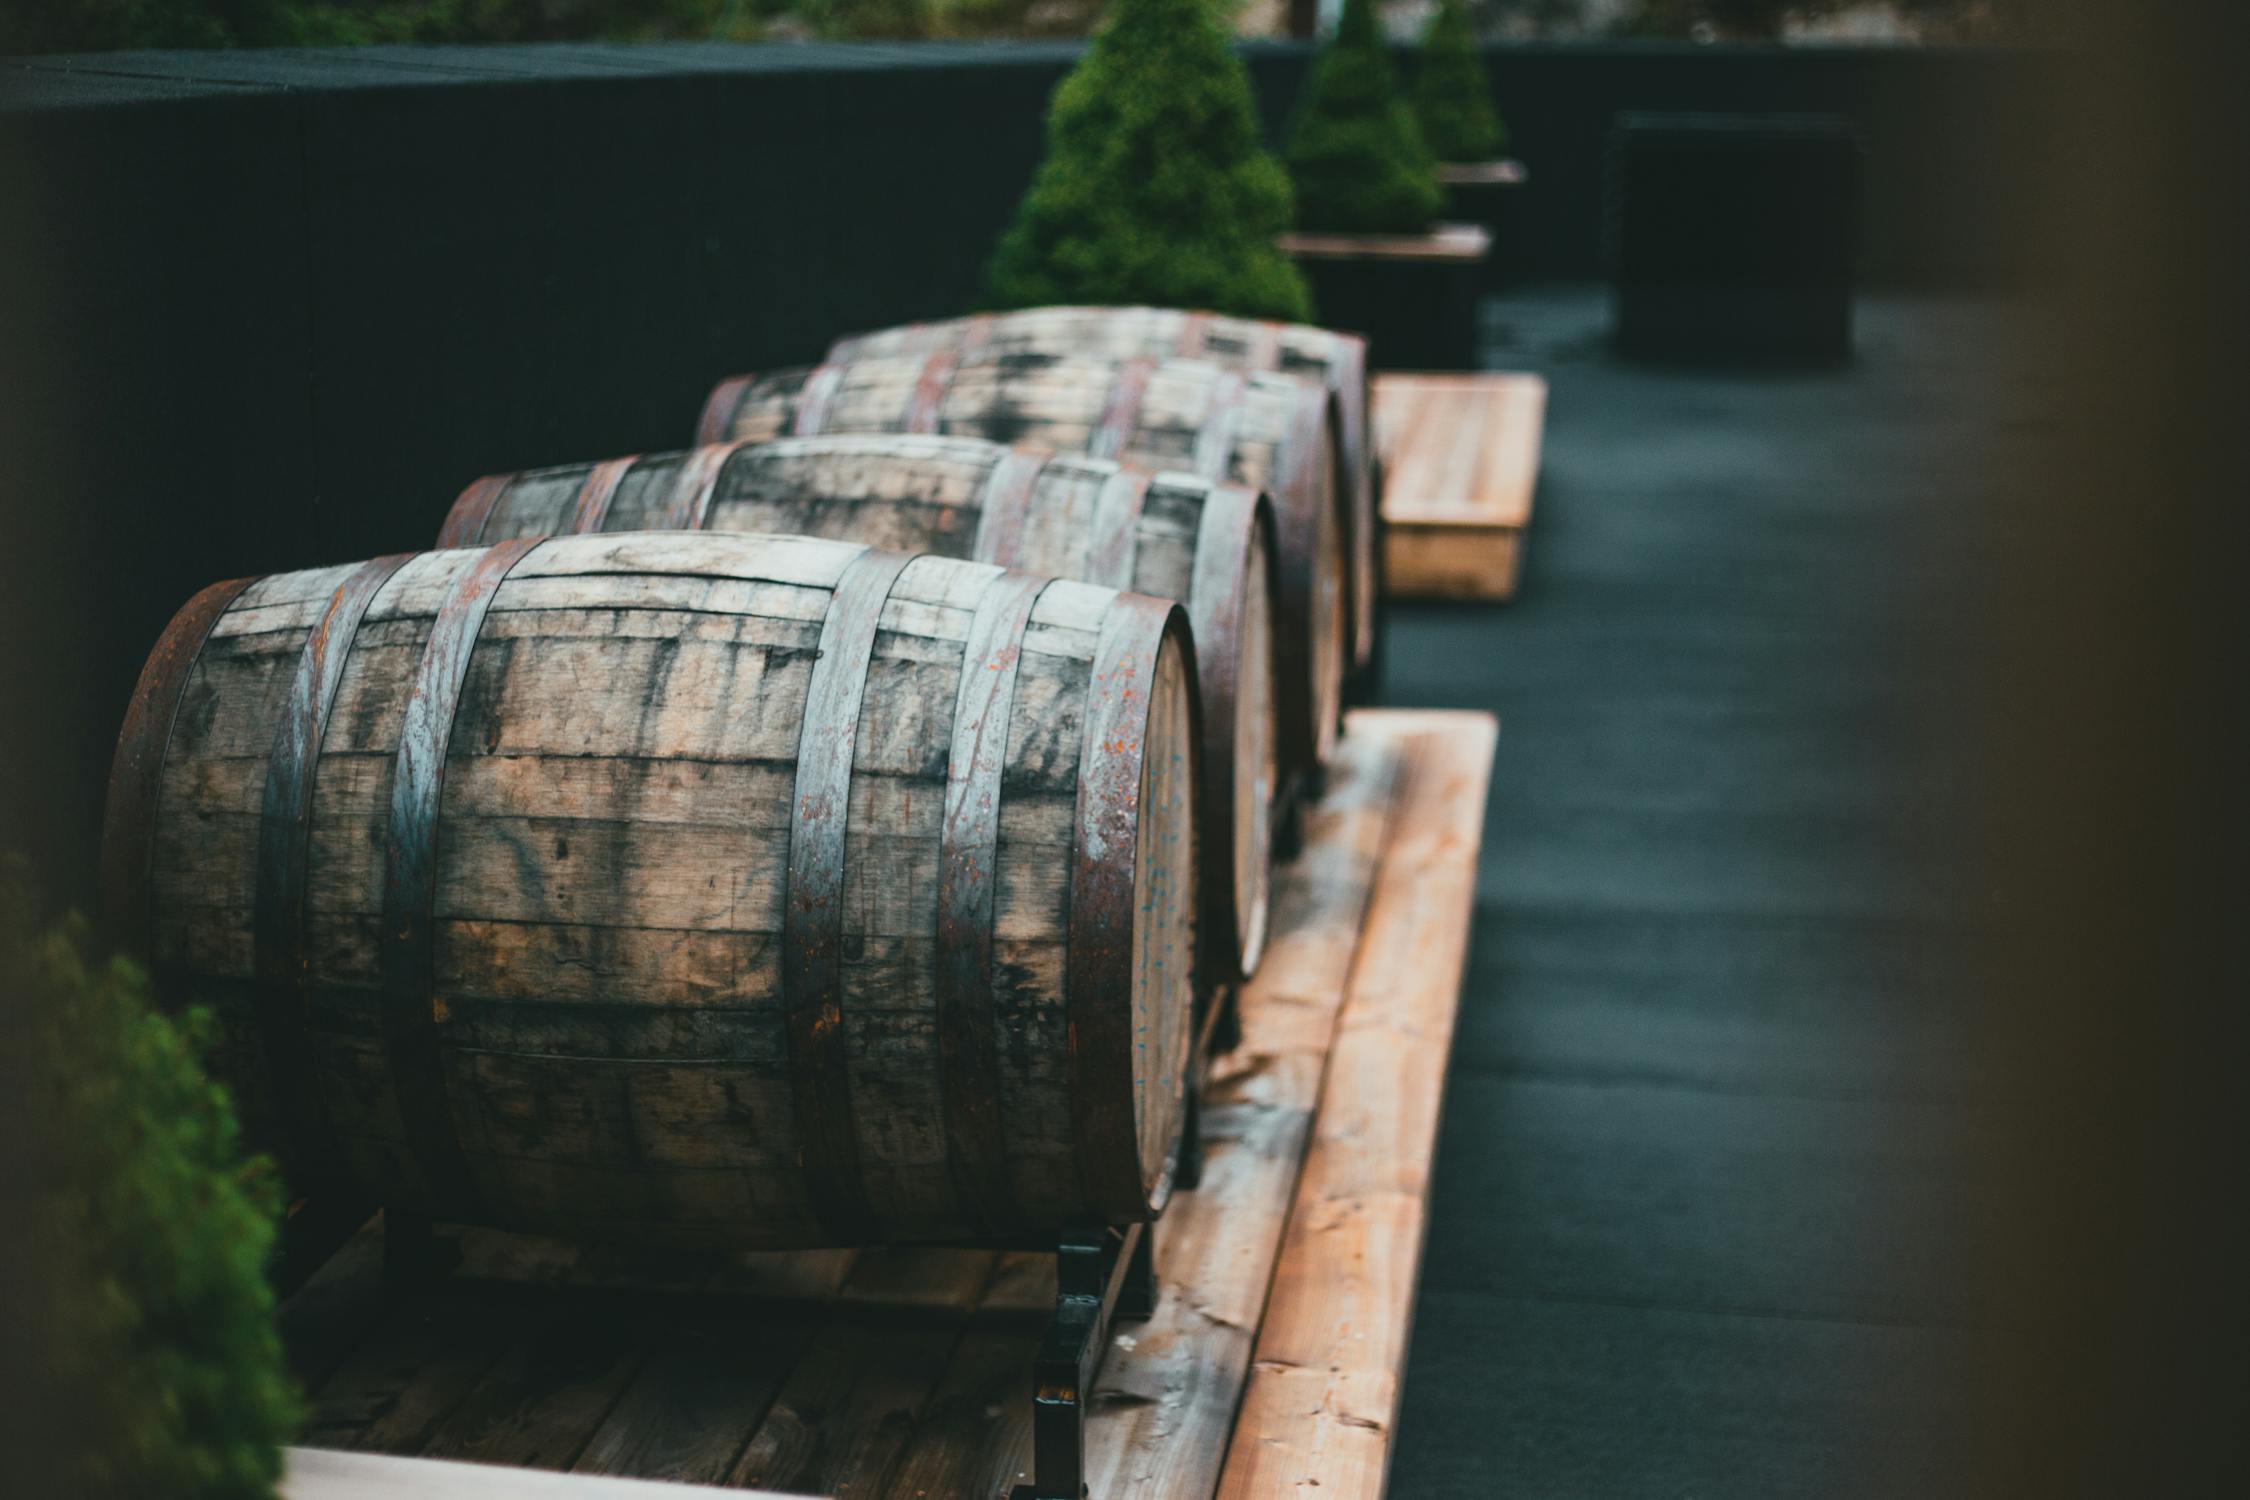
Essential Parts for a DIY Rain Barrel
1. The Barrel
- Material: A durable plastic or metal barrel (typically 50-60 gallons)
- Considerations: Ensure it is food-grade if repurposing, as some barrels may have contained harmful chemicals.
- Alternative Options: Repurpose an old drum or storage container if a rain barrel is unavailable.
2. Inlet Screen
- Purpose: Prevents debris, leaves, and insects from entering the barrel.
- Material: Fine mesh screen (such as aluminum or stainless steel)
- Installation: Secure the screen over the opening where rainwater will enter.
3. Downspout Diverter
- Purpose: Directs water from your gutter into the rain barrel while allowing overflow to return to the downspout.
- Material: PVC or flexible tubing
- Installation: Connect it to your existing gutter system for efficient water collection.
4. Overflow Valve
- Purpose: Prevents excess water from spilling out and directs it to a safe drainage area.
- Material: PVC pipe or hose fitting
- Installation: Place it near the top of the barrel to allow extra water to exit safely.
5. Spigot or Faucet
- Purpose: Allows easy access to collected rainwater for watering plants and other uses.
- Material: Brass or plastic spigot with a shut-off valve
- Installation: Attach it near the bottom of the barrel for easy water flow.
6. Hose Adapter
- Purpose: Connects a garden hose for watering convenience.
- Material: Plastic or brass hose adapter fitting
- Installation: Attach to the spigot for added accessibility.
7. Sealant and Washers
- Purpose: Prevents leaks and secures fittings in place.
- Material: Rubber washers and waterproof sealant (such as silicone or plumber’s tape)
- Installation: Apply around drilled holes to ensure a tight, leak-proof seal.
8. Base or Stand
- Purpose: Elevates the barrel to improve water pressure and allow easy access to the spigot.
- Material: Cinder blocks, wooden pallets, or a sturdy metal stand
- Installation: Ensure it’s level and stable to prevent tipping over.
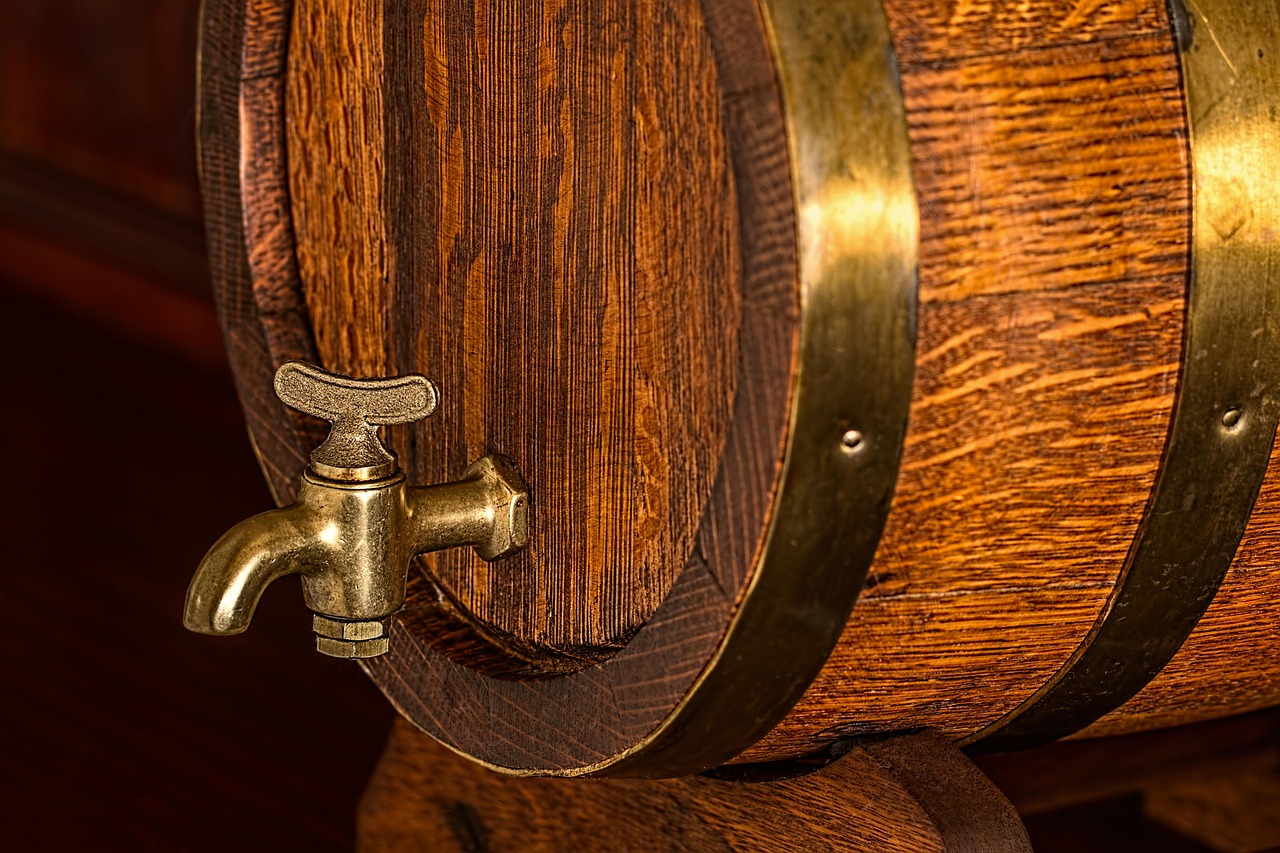
Assembling Your DIY Rain Barrel
- Prepare the Barrel: Clean the inside thoroughly and drill holes for the spigot, overflow valve, and downspout diverter.
- Attach the Spigot: Insert the spigot near the bottom, securing it with washers and sealant.
- Install the Overflow Valve: Drill a hole near the top, insert the valve, and attach a hose if needed.
- Secure the Inlet Screen: Place the fine mesh over the top opening to filter debris and insects.
- Connect the Downspout Diverter: Attach it to the gutter system, ensuring proper alignment with the rain barrel.
- Place the Barrel on a Stand: Position the barrel on a raised base for optimal water pressure and ease of use.
A DIY rain barrel is a fantastic way to engage in rainwater harvesting while contributing to environmental conservation. With just a few essential parts, you can create an efficient and cost-effective system that benefits both your garden and your water bill. Whether you’re an experienced DIYer or just starting out, this project is a rewarding way to embrace sustainable living. Get your materials ready and start building your own rain barrel today!


Leave a Reply